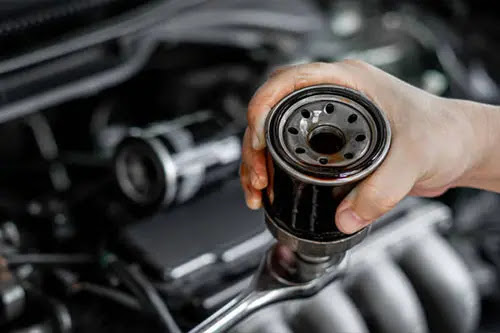
As a mechanic, one of the routine tasks you perform is the replacement of spin-on filters during an oil change. This crucial maintenance procedure ensures the normal operation of the filter in the engine oil system, protecting against oil leakage and potential damage to the engine's internal components. In this comprehensive guide, we will walk you through the step-by-step process of replacing a spin-on filter, highlighting important tips and recommendations to ensure a seamless filter replacement.
Tools Required
Before we dive into the procedure, let's first gather the necessary tools and equipment for the spin-on filter replacement:
- Ratchet wrench
- Oil filter wrench (if necessary)
- Clean engine oil
- Oil drain pan
- New oil drain plug(s) (if damaged)
- Torque wrench (if available)
- Oil filler cap
Step-by-Step Guide
Preparation
Lift the bonnet of the vehicle and locate the oil fill plug. Unscrew the oil fill plug and place it on the air filter cover or any other flat surface. This serves as a reminder that no new engine oil has been poured in yet.
Identify the oil drain plug(s) and unscrew them. If there are multiple plugs, unscrew each one individually. Check the condition and tightness of the plugs. If any of them are damaged, replace them with new ones.
Removing the Old Filter
- Locate the spin-on oil filter. Depending on the accessibility, you may need to use an oil filter wrench to remove it. Carefully grip the filter with the wrench and turn it counterclockwise until it is loose enough to be removed by hand.
- Once loose, twist the filter off completely and set it aside. Take note of the gasket on the filter and ensure that it is not stuck to the engine housing. Clean the surface of the engine housing where the filter adheres, making sure there are no remnants of the old gasket.
Preparing the New Filter
- Take the new spin-on oil filter and lubricate the top surface of the gasket with a thin layer of clean engine oil. This will ensure proper sealing and prevent leaks. Avoid using solid lubricants for this purpose, as they can interfere with the filter's functionality.
Pro Tip: Always refer to the manufacturer's recommendations for turbocharged engines, as it may be necessary to fill the filter with clean oil before installation.
Installing the New Filter
- Carefully align the threads of the new filter with those of the engine. Slowly screw the filter into place, ensuring it is properly aligned and seated. For turbocharged engines, refer to the manufacturer's recommendations regarding filling the filter with clean oil before installation.
- Once the filter gasket touches the engine housing, tighten the filter according to the indications on the filter or packaging. Typically, a ¾ rotation or 1 rotation is recommended. However, for filters in diesel engines, it may require more rotations. Avoid forcefully screwing in the filter and exceeding the recommended number of rotations.
Adding Fresh Oil
- Pour clean engine oil into the engine until it reaches the level recommended by the manufacturer. Use a funnel if necessary to avoid spills. Ensure that the oil filler cap is securely tightened.
- Start the engine and observe the oil pressure indicator. It should turn off or indicate that the oil pressure has reached the normal level if a pressure gauge is installed in the vehicle.
Checking Oil Level and Leakages
- Turn off the engine and check the oil level using the dipstick. The oil level should be within the manufacturer's recommended range. If necessary, top up the oil to the required level.
- Restart the engine and carefully inspect the area around the filter gasket and oil drain plugs for any signs of oil leaks. Address any leaks promptly to prevent further complications.
Proper Disposal
- Once the replacement is complete, ensure that the removed filter and old oil are placed in special hazardous waste containers. It is crucial to dispose of them in an environmentally safe manner.
- Remember that both used filters and oil must not be disposed of in municipal waste containers or landfills.
Conclusion
By following this comprehensive guide, you can confidently replace a spin-on filter during an oil change, ensuring the proper functioning of the engine oil system and preventing oil leakage. Remember to always refer to the manufacturer's recommendations and take necessary precautions to maintain the integrity of the engine. Regular filter replacements contribute to the longevity and performance of the vehicle, making it a vital part of your maintenance routine.
Proper maintenance of the spin-on filter ensures the smooth operation of the engine and protects against potential damage.For more information about spin-on filters and their functions, check out our related articles:
Valves in Oil Filters - Find Out About Their Functions and Effects.

